
Ever have one of those adventures that begins with one objective but naturally shifts to another? It almost always happens to me, especially when I tell myself, “you’re going on this trip to look for antlers!” Usually, those sessions turn into full-blown scouting adventures. Waypoints of scrapes, rubs, trails, and beds rapidly begin to clutter my map.
If your goal is to combine shed hunting with scouting, go for it! There’s nothing wrong with killing two birds with one stone. In fact it may help you kill next year’s buck – check out this podcast if you want to hear more from Troy Pottenger on sheds. But if you want to get serious and find more sheds, then you’ll have to stay focused. And to stay focused, you’ll have to lay down some ground rules for yourself and follow those rules to a T while you’re in the field. Here are 10 rules that have helped put more antlers in my backpack:
- Mark high-odds waypoints and go to those waypoints on a bee-line!
If only we knew where all the hot spots were, wouldn’t we already be going there? Probably, but you’re a hunter. It’s in your nature to have your head on a swivel and go to the next good-looking thing.
If you have an e-scouted plan, stick to it! For example, high odds places would include fence or fence row crossings, peninsulas of woods or weeds jutting into a field, bedding ridge points, creek crossings, and outside edges of clear-cuts.
Follow the Trails!
“Don’t leave fish to find fish.” One of my bass buddies tells me that ALL the time. The same goes for deer. If you’ve found the main deer trail on a long ridgeline, stay on that trail! Deer that are using it will keep using it, and at some point, there will be an antler or two to find.
Keep your eyes roving and close.
Sounds weird, right? Don’t let your eyes wander too far, but keep them moving side to side. The exception would be when entering an open and short field. First, survey that scene thoroughly. Then, glass it and survey once more.
Never leave your glass at home.
A born and bred Pennsylvania hunter, I rarely find an opportunity to glass wide-open spaces—something hunters out West do routinely. But for shed hunting, I use binoculars constantly. More than once, I’ve thought something laying on the forest floor looked like an antler and realized from a distance that it was one! That’s not to say I haven’t glassed my fair share of “branchlers,” but hook-sets in bass fishing are free, and so are shiny sticks.
Pause to let your eyes rest.
Ever stared at something for so long that it becomes a blurry image? If you haven’t, try staring incessantly at sticks, rocks, leaves, and dirt for an extended amount of time.
Your eyes need a break to recalibrate now and then. Treat them well, and they will return the favor.
Target Cloud Cover.
Bluebird weather is inviting. But a drizzle with a bit of cloud cover will remove conflicting contrast. Sheds will be much easier to see, even from a long way off.
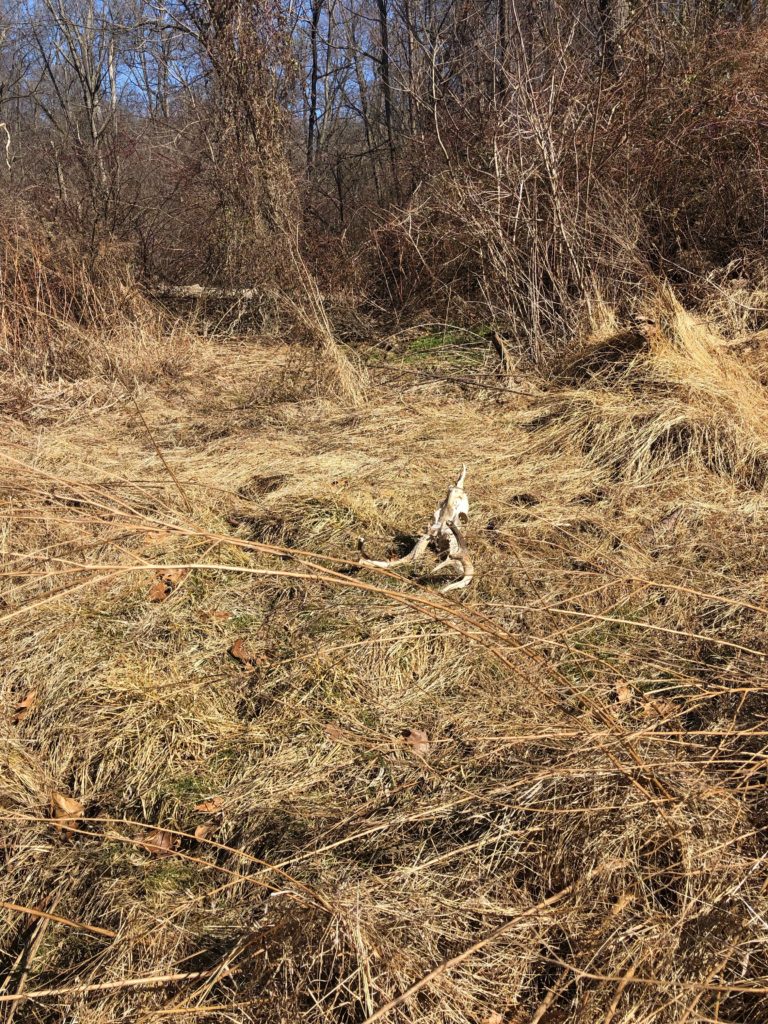
Always take a photo before picking up the antler!
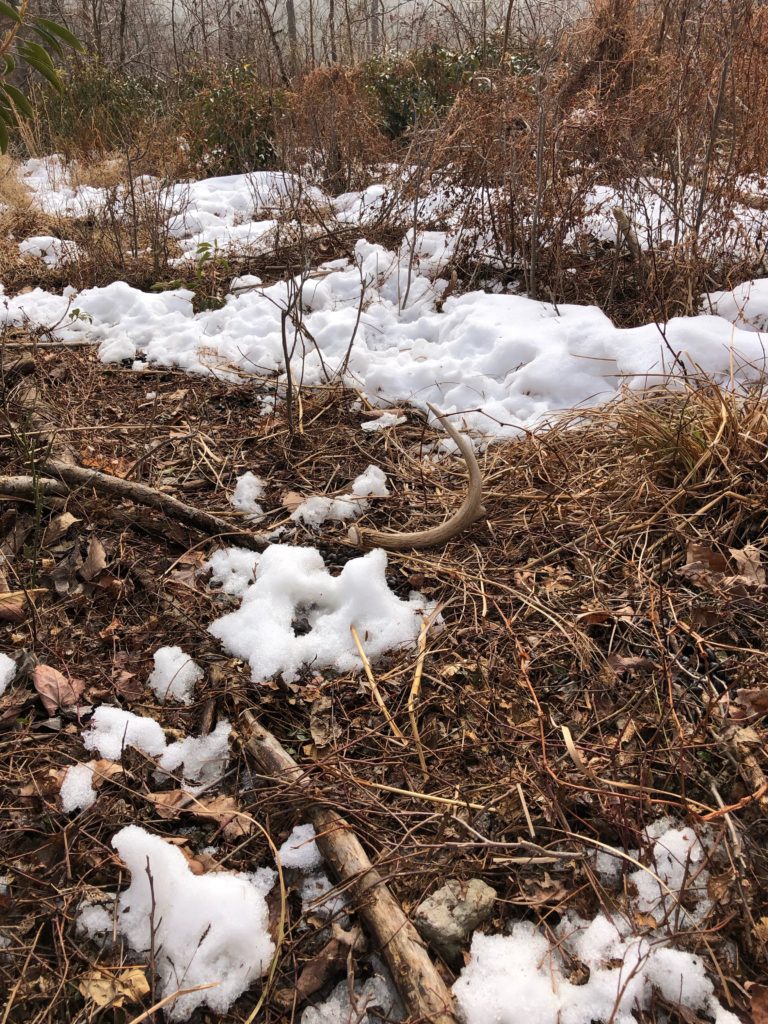
“As they lay” photos are trendy, but trendy isn’t the reason to snap a photo. When your mentor taught you to hunt, they taught you to look for flicking ears, a deer’s rump, and legs moving in the underbrush. They didn’t teach you to look for a whole deer: they taught you to look for bits and pieces.
Do the same for sheds, and you’ll walk away with many more. Photos help create a search image and train your eyes to spot antlers like a hawk hunting a mouse.
Dissect Disturbed Ground.
Sheds are found every year by recognizing feeding sign. Have you found areas that look like they’ve been dug up and rooted? Use diligence checking those areas.
Turkeys are most known for their scratching habits, but deer will tear through large swaths of ground in the winter. A quick tip: kick around in the debris surrounding the edges of these torn-up areas. Antlers will often be in the mix.
The 80/20 Rule.
When you get into the shed hunting scene, you will hear of the 80/20 rule. This rule means 80% of the sheds you find will be on 20% of the ground you’re searching.
It’s an accurate rule-of-thumb, but how do you know in which 20% you should be looking? If you’re hunting big woods, stick to hard transitions. Edges of clear-cuts or where contour lines begin to get tight are your 20%.
The best thing you can do in big woods is to take long zig-zagging hikes before or after shed season. There may be critical transitions that you’re missing during your e-scouting sessions. It’s possible to miss hidden spots even during active shed hunts.
Always Mark a Find.
Some shed finds are random or sparse. Eventually, you’ll find a spot that loads up at a particular time every year. Understanding when that time might be and having a good grasp of the location will put far more antlers in your pack.
Conclusion
The message I’m conveying to you is this: use these rules as a guideline, but tailor them to fit your skill and style. When you figure out your regimen, kick your shed hunting seasons off with good habits.