Hunting is full of challenges. Anyone who has ever picked up a bow or rifle and headed to the woods for an extended period is likely no stranger to extreme temperatures, rough terrain, bugs, boredom, and a pile of other discomforts. But for many, the challenges experienced in the field are small compared to those triggered by the process of planning. The purpose of this article is to help make that process a little less painful.
Embarking, or transitioning, to utilization of public land can be confusing when trying to determine where hunting is and is not permitted. For our Pennsylvania readers, it’s important to know the differences in types of public land in your area. Consider, each type of public land likely has its own set of regulations. Specific regulations are usually posted on-site or can be found on state agency websites. But all together, Pennsylvania has a vast amount of public land available to anyone. Fortunately, with mapping systems like OnX, struggling to find pieces in that vast expanse are minimal. There are approximately four million acres available for roaming in Pennsylvania, and believe me, they’re worth exploring!
In this read, we will touch on types of public land, e-scouting basics, and boots-on-the-ground scouting strategies. All these tools are useful when choosing an area to hunt.
Public Land Descriptions
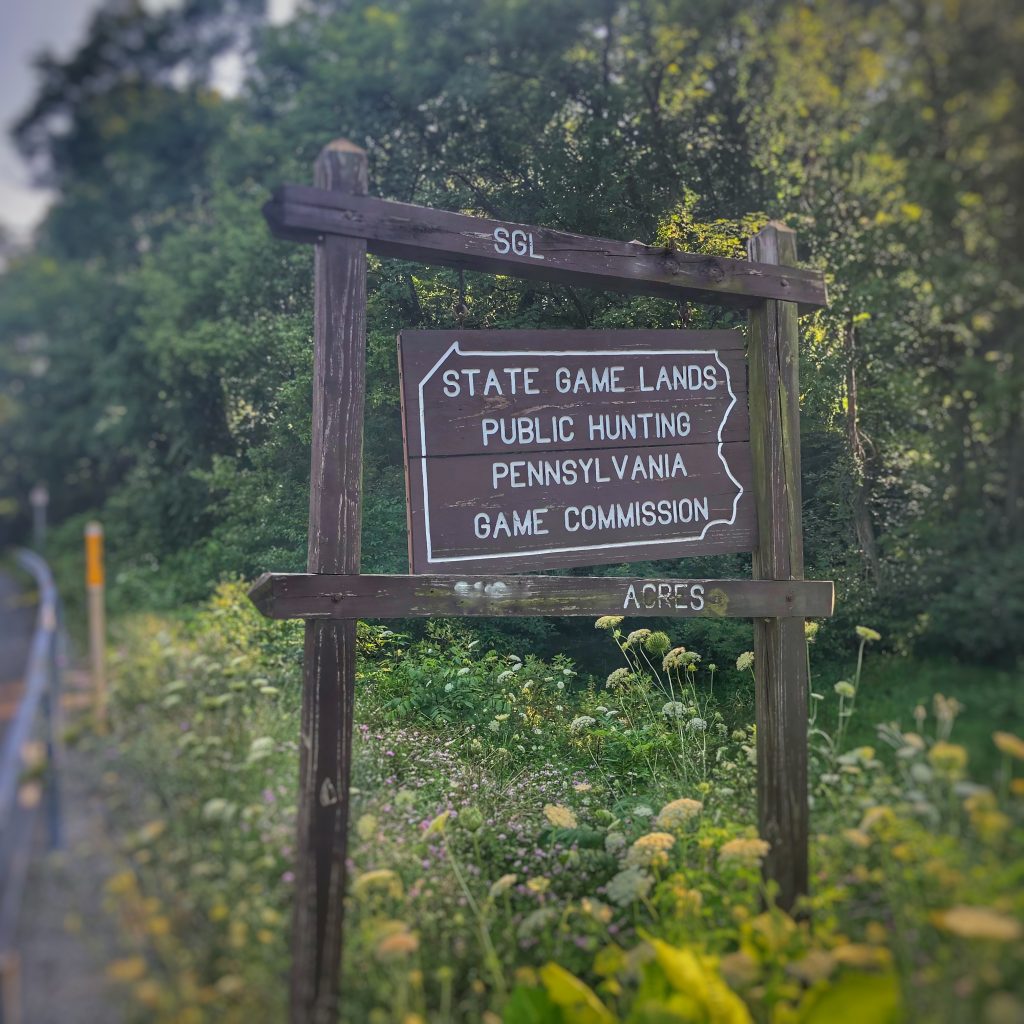
State game lands (SGL). SGL properties are lands owned and operated by the Pennsylvania Game Commission (PGC). These lands are the most popular places to hunt due to their widespread nature and the large amount of habitat improvements made by the PGC. (Check out information on SGLs via the PGC’s website here: PGC’s interactive mapping.) Many SGLs are easily accessible. Occasionally, that creates higher hunting competition, but they can still be excellent if you’re willing to do some research. A program linked to SGLs, that all beginner hunters should be aware of, is the Deer Hunter Focus Program (see Deer Hunter Focus Area). This program highlights areas where it might benefit a deer hunter to focus their efforts. Although difficult to hunt during gun seasons, or during rut, due to hunting pressure, focus areas are great places to acquire deer hunting skills.
State Forests. State Forests are lands that are managed and owned by the state. These properties allow more recreational activities like camping. Some even have ATV/ snowmobile trails through their interior. Pennsylvania boasts many large, seemingly endless tracts, of wooded state forests. They will not generally have planted food sources, so you’ll want to scour satellite images for new timber harvests. It’s in timbered areas where you will find the most concentrated deer populations.
United States Army Corps of Engineers Properties. As their name implies, corps properties are federally owned and managed by the US military. Because these properties are based around water control efforts, they often offer great hunting and fishing opportunities. Additionally, you’ll find a moderate amount of non-hunting recreation on these public spaces.
E-Scouting
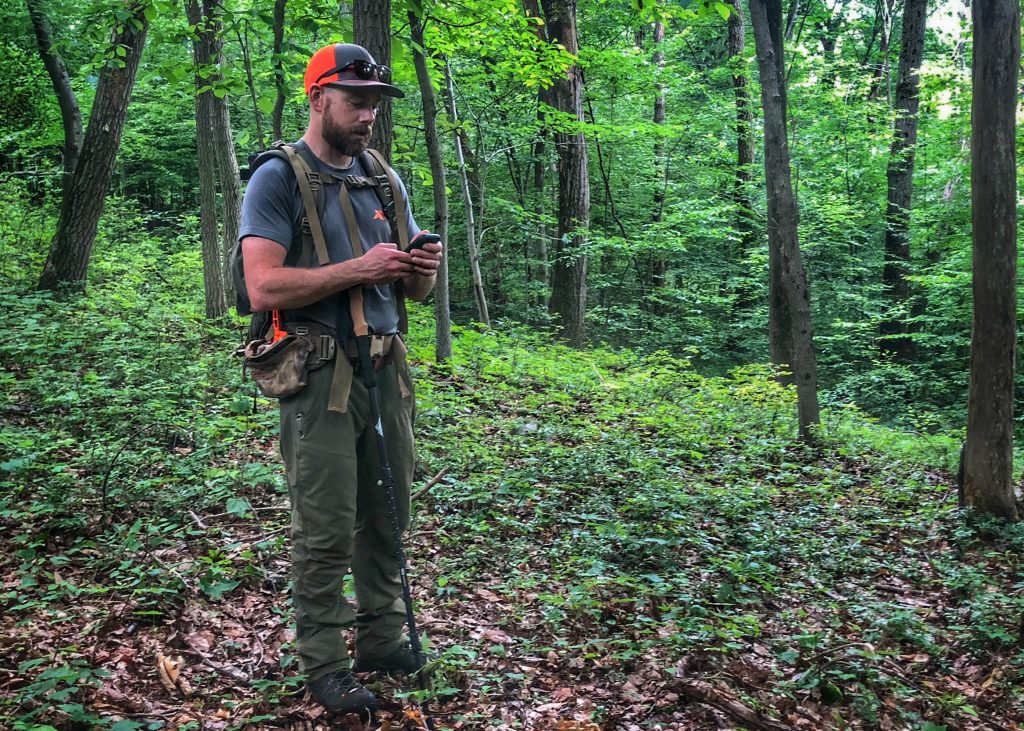
E-scouting is the best way to be productive from the comfort of your couch. Today, hunting-based GPS mapping, make paper maps and word of mouth a minor necessity. For detailed info about jargon used to describe terrain features and pinch points, check out Mapping Trophy Bucks by Brad Herndon.
Terrain. Terrain is what we talk about when hunting a specific land feature (i.e., points, draws, ditches, saddles, etc.). Once you’ve learned basic map reading, understanding terrain and contour lines is easy. The best way to learn is to do. Find some crazy-looking contour lines on the map, then go take a hike for a hands-on look. Oftentimes, you’ll find something unexpected; you might even have fun in the process. If the feature is obscure on the map, but seems like a gem in person, it probably is!
Food. Some food sources, like crop fields and food plots, are easy to find via satellite imagery. Other food sources, like new growth, burns, and oak forests, can be found via state agency websites; such as PGC’s interactive mapping. Other habitat improvements can be found via OnX hunt-maps app by utilizing hunt layers available for timber harvests, burns, and wilderness areas. Obvious food sources can be a good steppingstone to begin understanding deer behavior at a higher frequency. If the immediate goal isn’t to harvest a giant buck, there should also be ample opportunities for hunting around these types of food sources. Clear cuts are another great food source, and, believe me, they draw deer like frogs to water. There are so many strategies to hunting clear cuts, and we will go over them in a later article.
Water. Using plain topo imagery, water sources are very obvious. Some of those could have hunting potential, especially if they intertwine with terrain, which can pinch deer down. It’s even better if the terrain creates a funnel causing deer to cross water at a specific point, like a beaver dam or shallow creek crossing. Believe it or not, less obvious water is better. Obscure water sources may come in the form of a washed-out roadway with a lot of potholes, new clear cuts where springs might have opened, or tire tread marks that are holding water consistently. It’s important to check as many water sources as possible and then establish a pattern for how deer use those sources.
Boots-on-the-ground and Deer Sign
Let’s say you’ve found terrain that looks awesome on satellite imagery. Sometimes, during your boots-on-the-ground scouting efforts, images pan out to be exactly what was expected, but 90% of the time it’s nothing like what was imagined. That awesome-looking saddle could be one giant pile of boulders, or maybe it’s old growth timber that deer are less likely to pass through during daylight.
There is no replacement for boots-on-the- ground scouting when attempting to link terrain, imagery, and deer sign. Putting your eyes on the physical evidence a deer has left behind and piecing together how that same deer will make more sign is a hunter’s top investment. Whole articles could be written about each element of sign left behind by a deer, but for now the basics and small tips on how to use each are what we’ll focus on.
Tracks, Trails, and Scat.
These three pieces of sign almost always accompany each other. Trails are made by deer on a pattern. Some trails are so well used that they are pounded into the dirt like little highways. Depending on the type of cover a pounded trail is in, this is likely a good spot to set an ambush. Take a look at the size of the tracks and scat. This will help determine the age-class or size of deer that are using the trail consistently. If this spot is paying off for you, watch out for a time when bigger tracks than normal appear on the trail. It may give you tell-tail signs that a big buck has started to check for receptive does in the area.
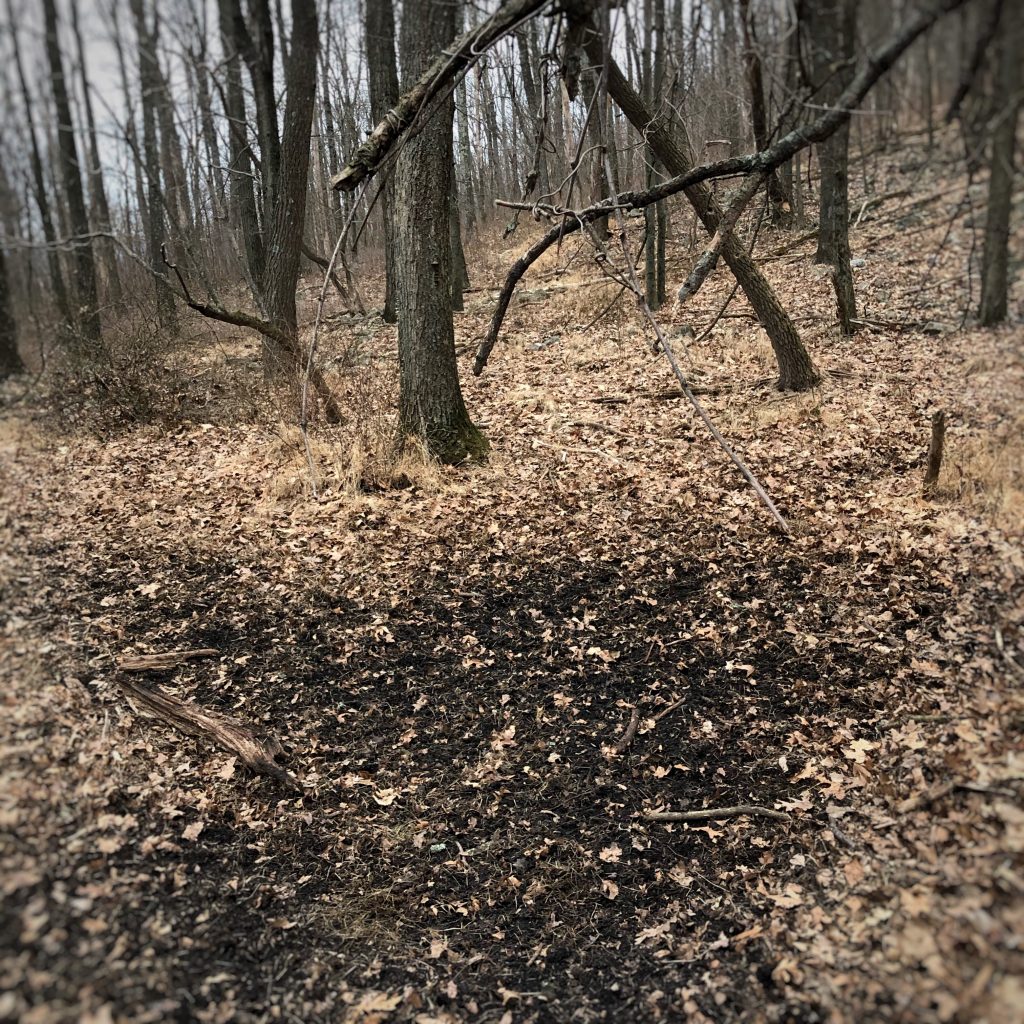
Scrapes.
When it comes to deer sign, scrapes are a favorite topic of discussion. There are many differing strategies on how scrapes should be hunted but, understanding why scrapes are important to a deer herd isn’t an opinion. Scrapes are bare patches of dirt that a buck has pawed into the ground. They’re accompanied by a licking branch, which is some type of vegetation that hangs over the bare patch. Deer pee in the scrape and rub the licking branch with their face and/or antlers. Essentially, a scrape is a deer herd’s communication connection. Scrape use ramps up a short time prior to the rut as bucks begin their search for hot does. Activity tapers off during the height of the rut. All scrapes are not created equal! That’s your job during your boots-on-the-ground missions. The questions you need to answer about scrapes are these: Is the cover substantial enough to make a buck feel safe during daylight? Do the scrapes form a pattern or a line? Are the scrapes littered all over the place like a buck is testing the waters, or are there just a few that seem to serve a specific purpose? In my opinion, here are the two best areas to look for when it comes to hunting over scrapes:
- An area that bucks begin scrape making activity first year after year, rather than just one specific scrape. Scrapes like this are often in “staging areas” that bucks use before entering a vulnerable food source. They can found best by knowing historical data from that area and then scouting in-season. When the first scrapes open, get to the race quick!
- Established scrapes in substantial cover that serve as year-round communication. These scrapes are often part of a pattern, and trail cams should confirm year-round use. Every attractive element added to that scrape increases its value. If the scrape is in cover, is part of a pattern, maybe has an obscure water source, and close by food, I’d say you have a winner. Add a secondary escape route exiting the area and you’ll really be in the money!
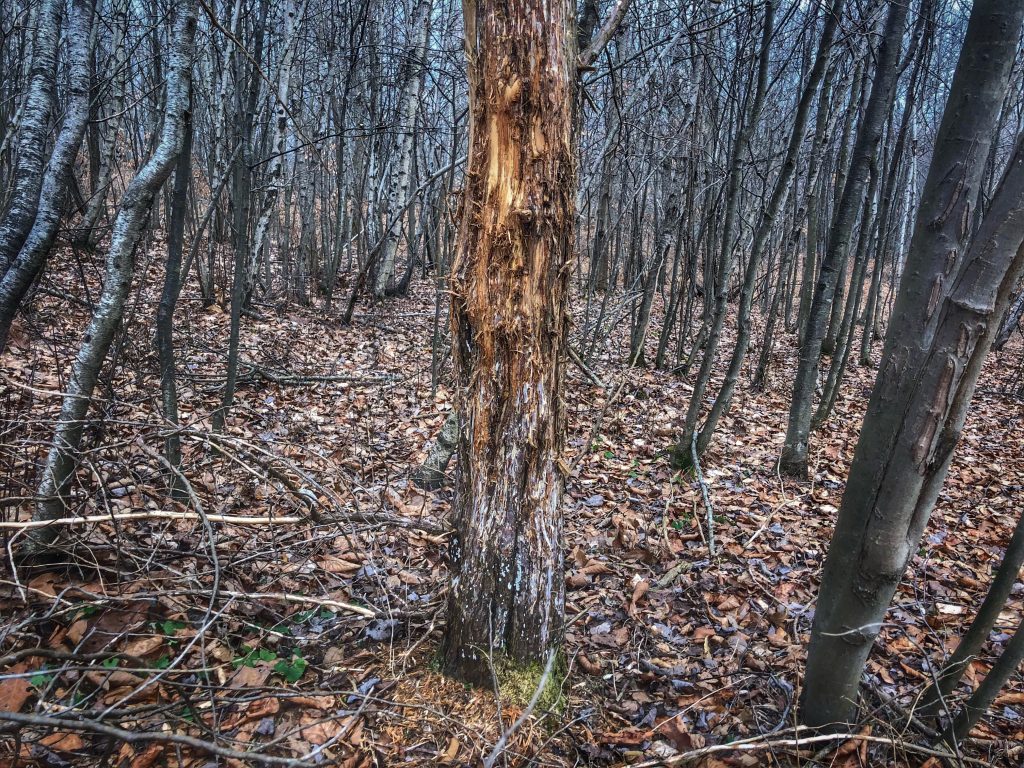
Rubs.
Rubs can be take-it-or-leave-it, but they are by far my favorite kind of sign to find. Rubs are sign bucks make by rubbing the bark off small to medium sized trees. There are a lot of opinions on the maturity of the buck that made the rub. Truthfully, no one really knows the right answer. Some people have seen spike bucks rub on trees 10 inches in diameter. Conversely, 160-inch bucks are known to rub small saplings. Of course, diameter is helpful, as is how aggressively the rub appears to have been made and the height of the rub (the taller the better). These clues could help with determining the maturity of a buck, but they aren’t fool proof. Like scrapes, rubs make a few patterns. Tight clustered rubs often indicate proximity to buck bedding. Rub lines may indicate preferred travel routes of bucks in the area. Rub lines are best found by in-season scouting and are worth hunting if they are fresh, or even better, if there are old rubs mixed into the new rub pattern. Your job will be to interpret the rub pattern and hunt that pattern accordingly. That’s tricky at times, but don’t over think the facts. Rub lines leading from an area that appears to be used for bedding to a food source is probably just that. Patterns that parallel a ridge line, without a specific destination, have potential to be rut travel corridors. You get the idea!
Beds.
Buck beds are all the rage in today’s hunting world. Everybody seems to be emphasizing the value of hunting in bedding areas. And sure, it’s a solid method if you learn how to nail it down. Finding beds in swamps and hill country is almost like the directions to a connect-the-dots picture. It’s so cool to walk to the end of a brushy ridge point or into a patch of cattails and understand exactly where to find a buck bed. The difficultly that lies in bed hunting is knowing the right timing. What wind works best? When is the buck actually using the bed? These are things that come with trial and error. I’ve found hunting specific beds to be worthwhile, but it’s far from a fool-proof method for every hunter. Occasionally, the action is reduced since you’ll be hunting a very specific and intricate piece of sign. This method is geared to finding one specific deer and is usually not a central location for deer traffic. You could sit for days without seeing a deer, so this method does require a superb amount of patience. But, believe me, it can pay off!
Next Up
We will go over goal setting and expectations for the DIY bowhunter.